Install SSL Certificate from PFX file
Installing SSL certificate is crucial for securing websites, ensuring encryption of data transmission between users browser and the site to protect sensitive information. Let's explore the process of installing SSL certificate from PFX file, providing step-by-step instructions for a seamless setup.
Extract Private Key and Certificate from PFX file
PFX (Personal Exchange Format) file, also known as a PKCS #12 file, is a binary format used to store a certificate and its corresponding private key. OpenSSL command can be used to extract both the certificate and private key from a PFX file.
openssl pkcs12 -in website.com.pfx -out website.com.txt -nodesIn case the PFX file is password protected, you will be prompted to enter the password as "Enter Import Password". If the password is valid, website.com.txt file will be saved in the current directory. The first section of the website.com.txt file contains the private key, which can be saved as website.com.key. The second section contains the certificate body, which can be saved as website.com.crt file.
Once the key and crt files are prepared, you can proceed to configure them on your http server, such as Apache or Nginx. Alternatively, if you are using AWS Elastic Load Balancer (ELB), you can utilize AWS Certificate Manager (ACM) to manage your SSL certificates and associate them with your load balancer.
Configure SSL Certificate using Nginx
To configure SSL in Nginx, need to upload the required files to the server using FileZilla or another FTP client. Once uploaded, reference these files in the Nginx server block configuration. Finally, restart Nginx to apply the changes.
website.com.conf
server {
  listen  443 ssl;
  server_name  website.com;

  ssl_certificate  "path/to/cert/website.com.crt";
  ssl_certificate_key  "path/to/cert/website.com.key";

  ssl_protocols  TLSv1.2 TLSv1.3;
  ssl_ciphers  TLS-CHACHA20-POLY1305-SHA256:TLS-AES-256-GCM-SHA384:TLS-AES-128-GCM-SHA256:HIGH:!aNULL:!MD5;
  ssl_prefer_server_ciphers off;
}
Configure SSL Certificate using ACM and ELB
To import a certificate using AWS Certificate Manager, navigate to the Certificate Manager service and select the "Import Certificate" option from the left-hand menu. Paste the certificate and private key into the respective text boxes, add tags accordingly, and review the details before confirming the import certificate.
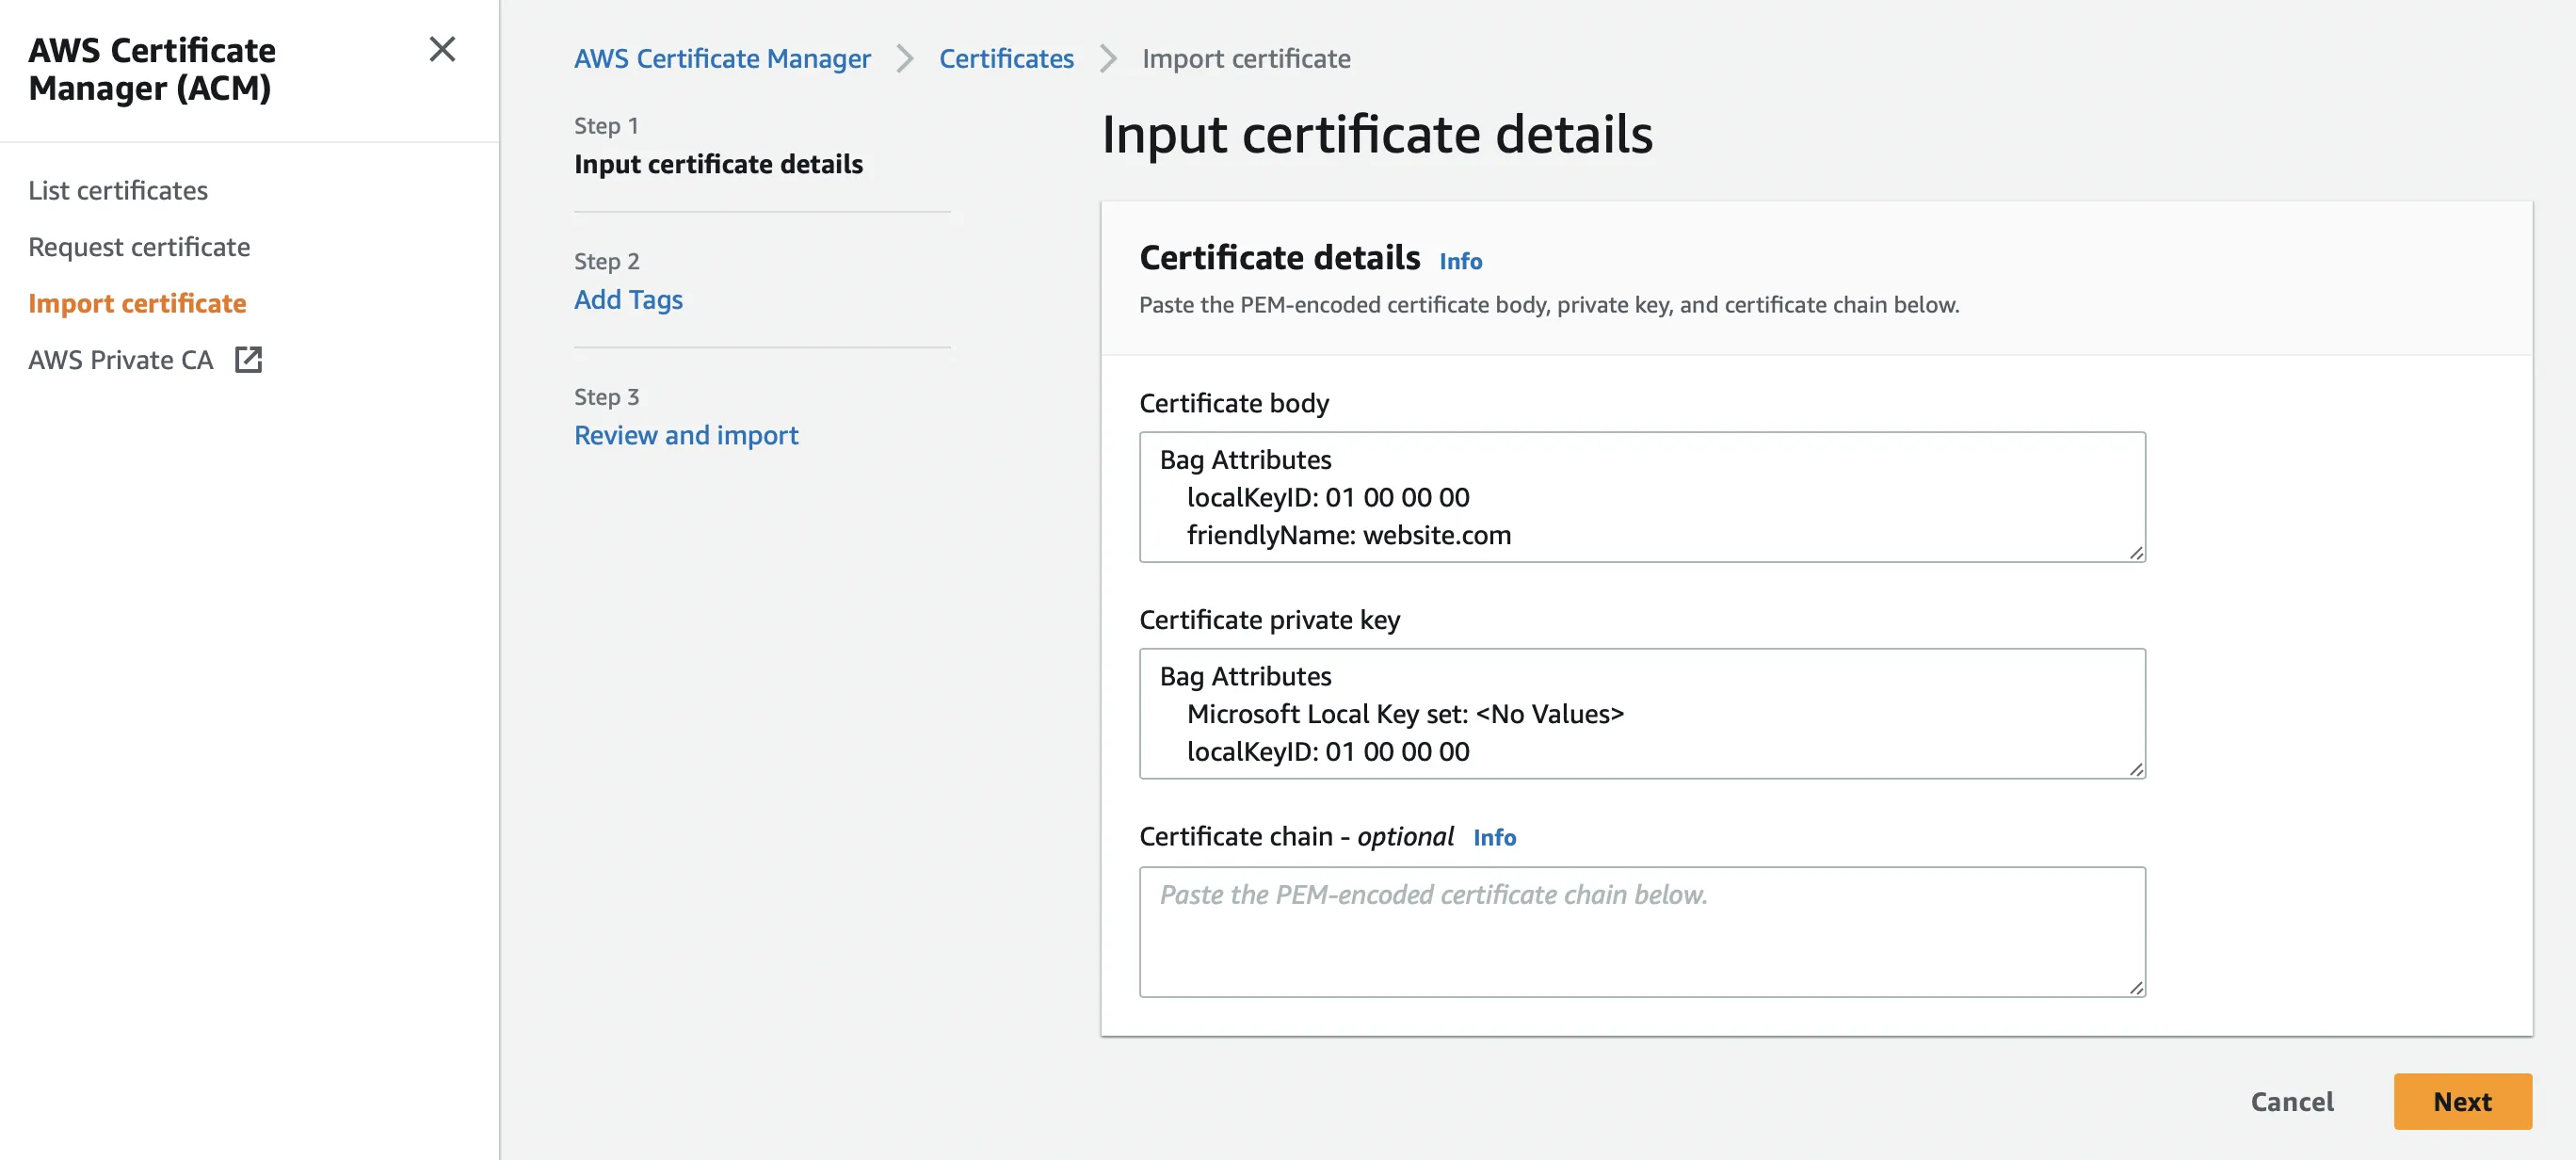
Upon successful completion, the imported certificate will appear in the list of certificates.

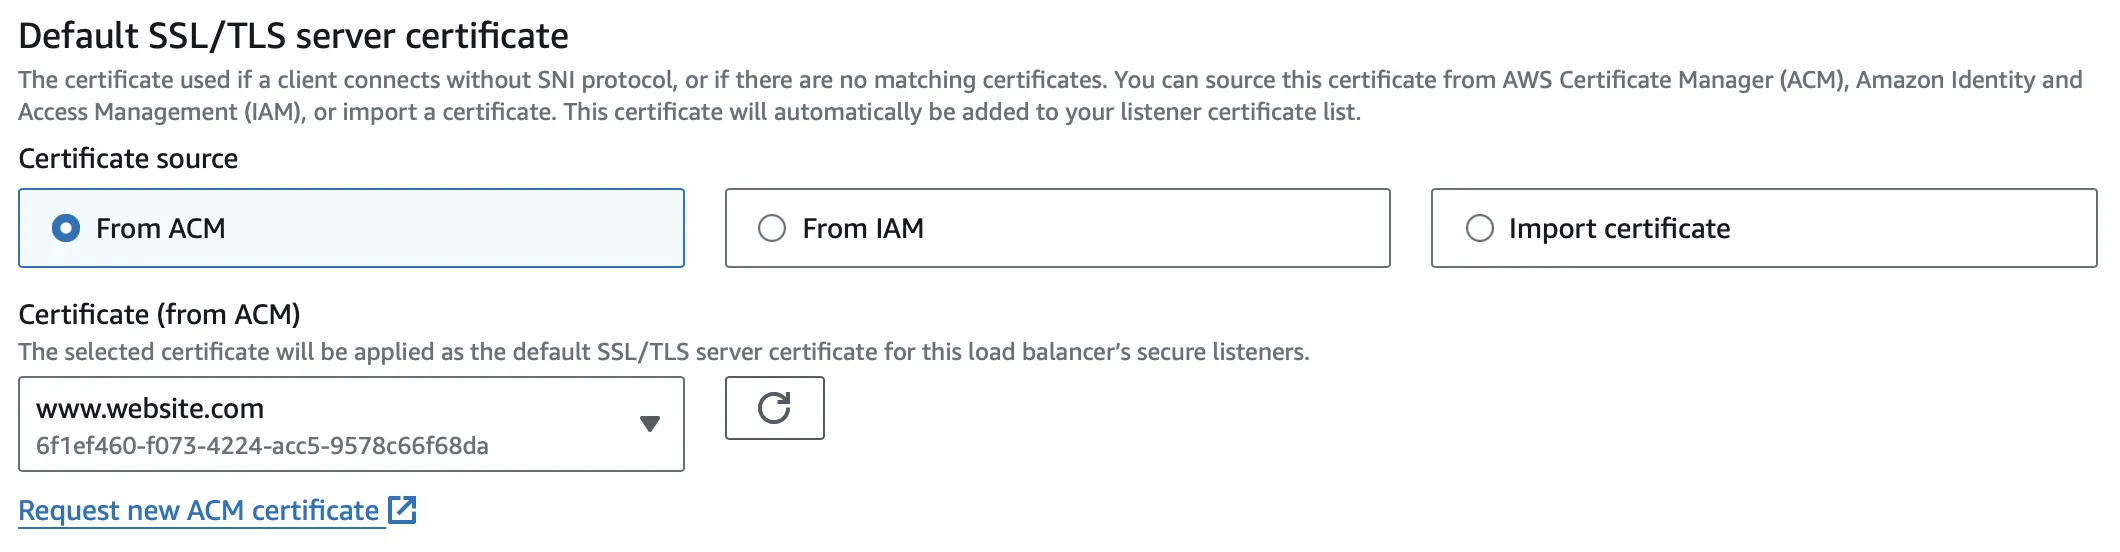
When creating a new Application Load Balancer, you can set up the Default Certificate by selecting the certificate imported in the previous step under the "Default SSL/TLS server certificate" section.
After confirming other details, proceed to create the new load balancer. Once the ELB is created, you can verify its configuration by accessing HTTPS:443 from the Listeners and Rules tab. Then, navigate to the "Certificates" tab on the details page to confirm the setup.
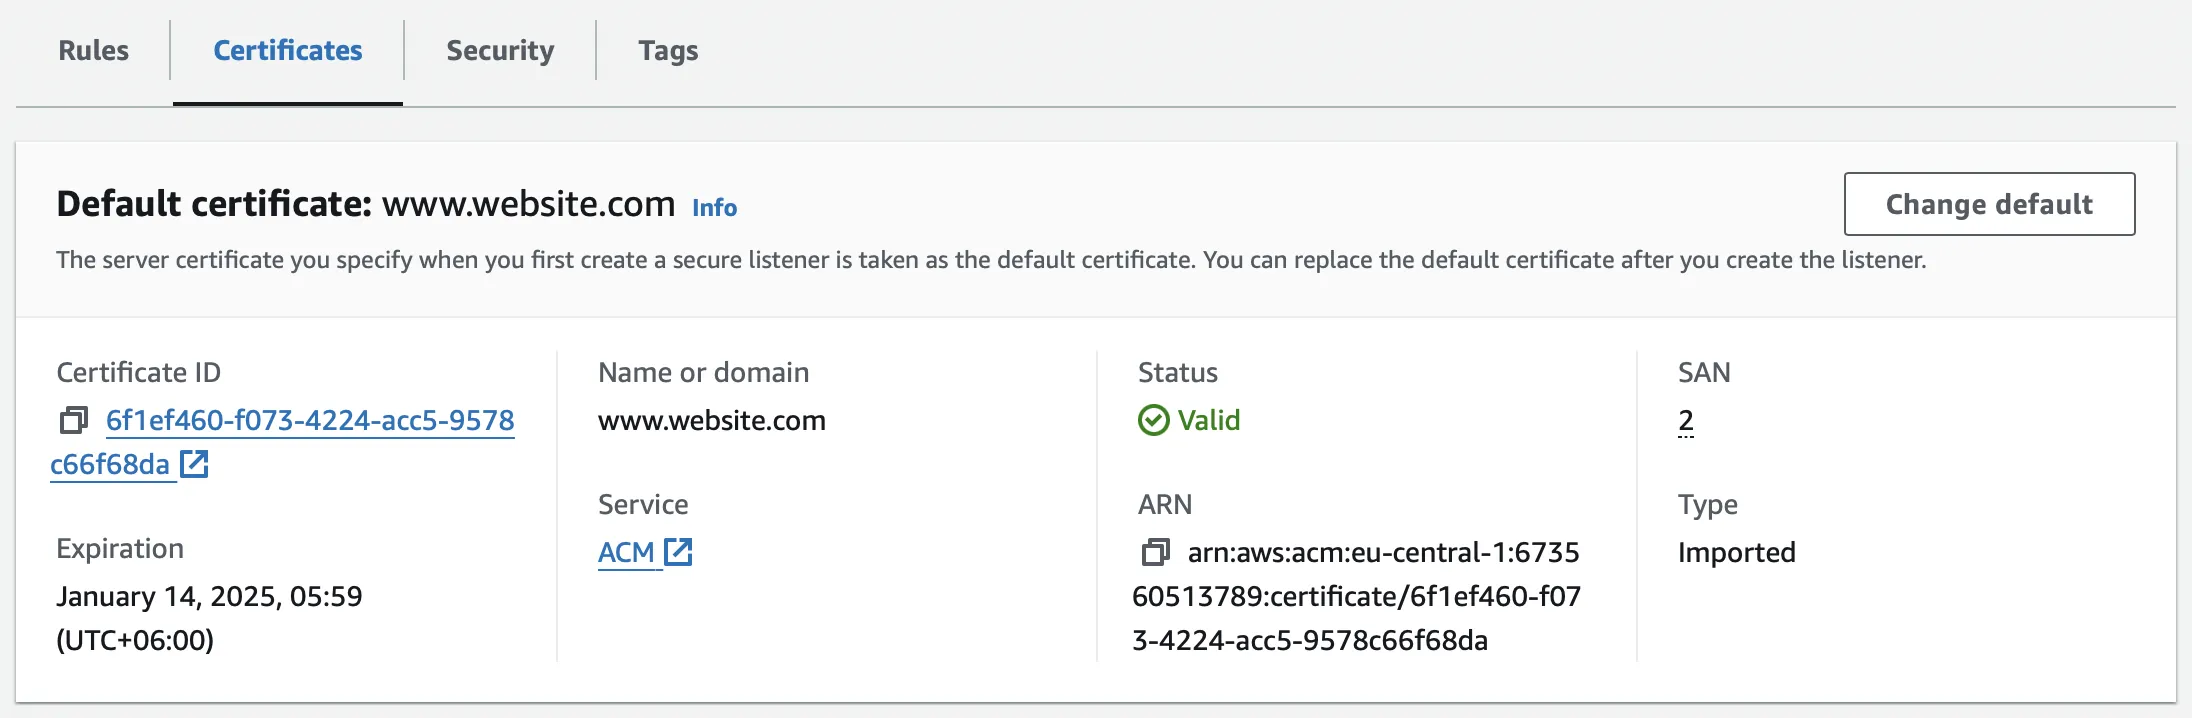
You can utilize the "Change Default" feature to change the default certificate if the current one expires or for any existing HTTPS listener.
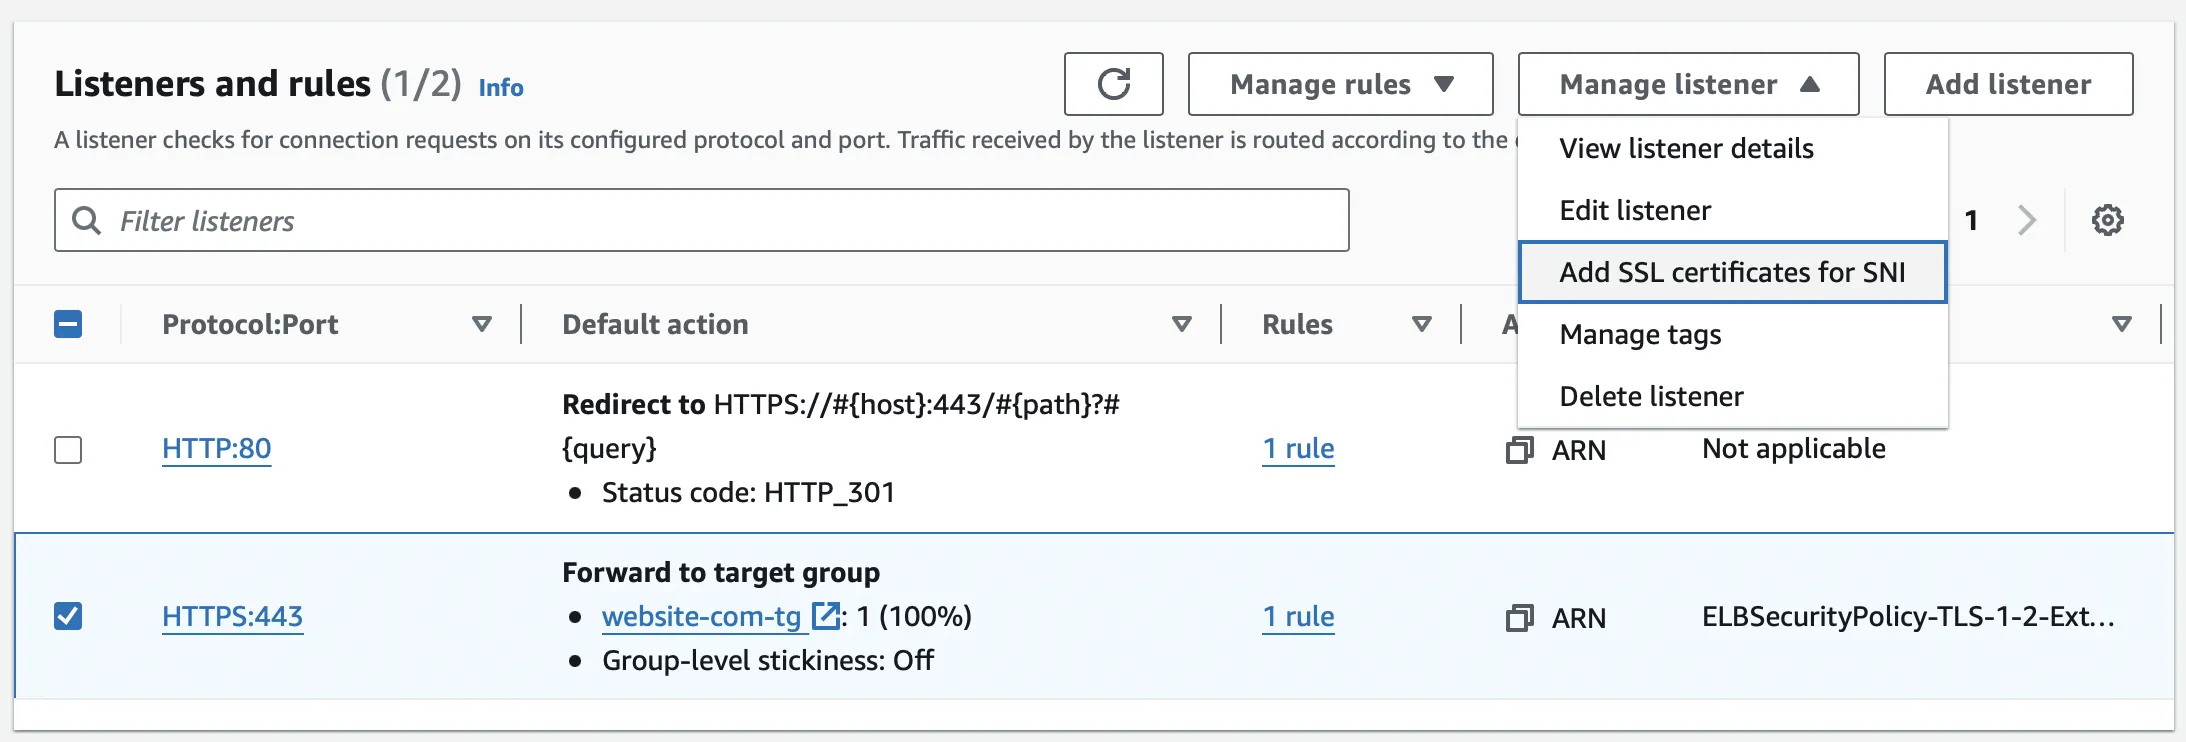
If you're maintaining the same load balancer to support multiple domains on the same port, you can assign different certificate for each domain using the "Add SSL Certificates for SNI" feature.
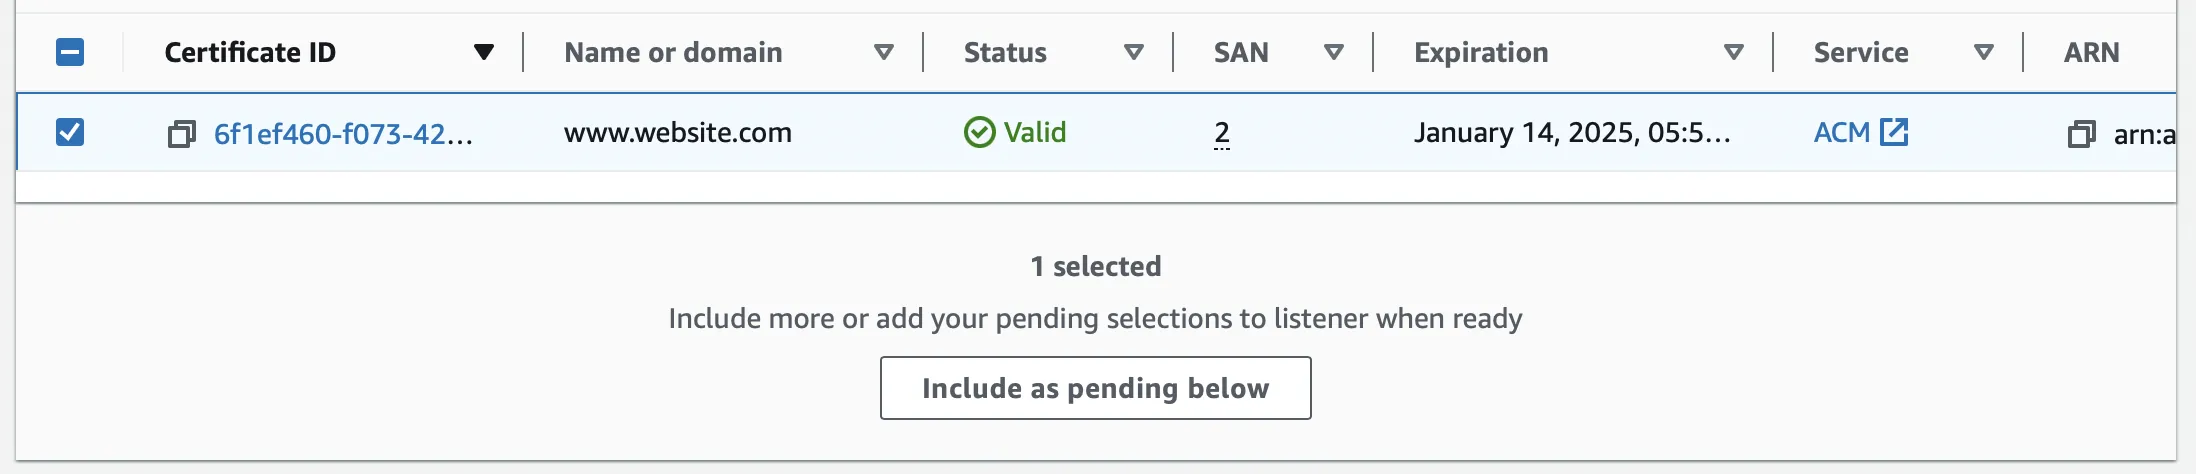
Select the certificate you want to add from the list of available certificates and choose "Include as Pending below".
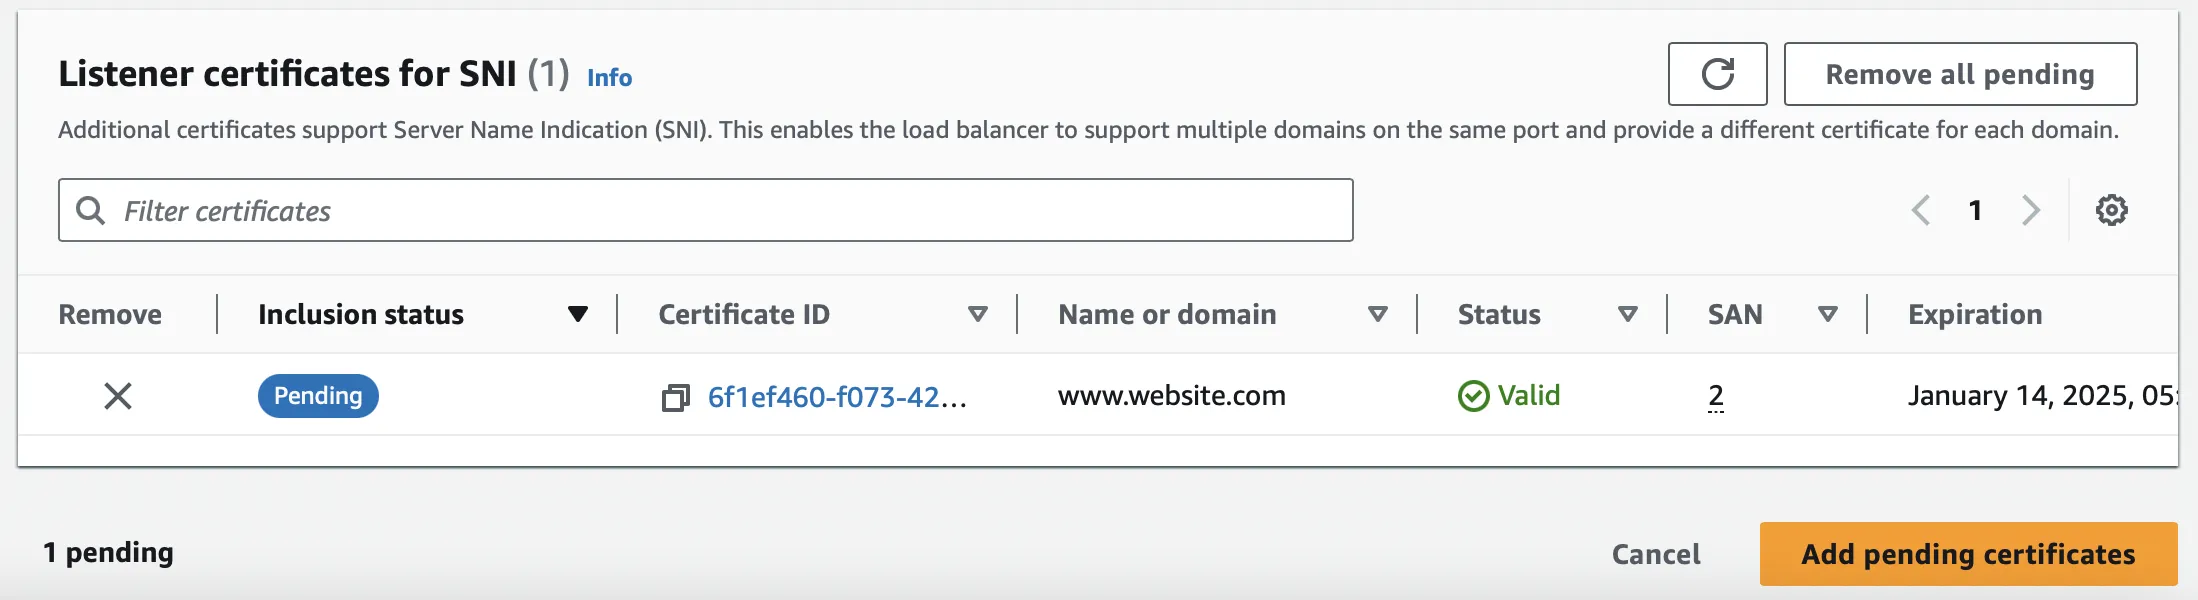
After confirming the selection, you need to proceed by clicking on "Add Pending Certificates".
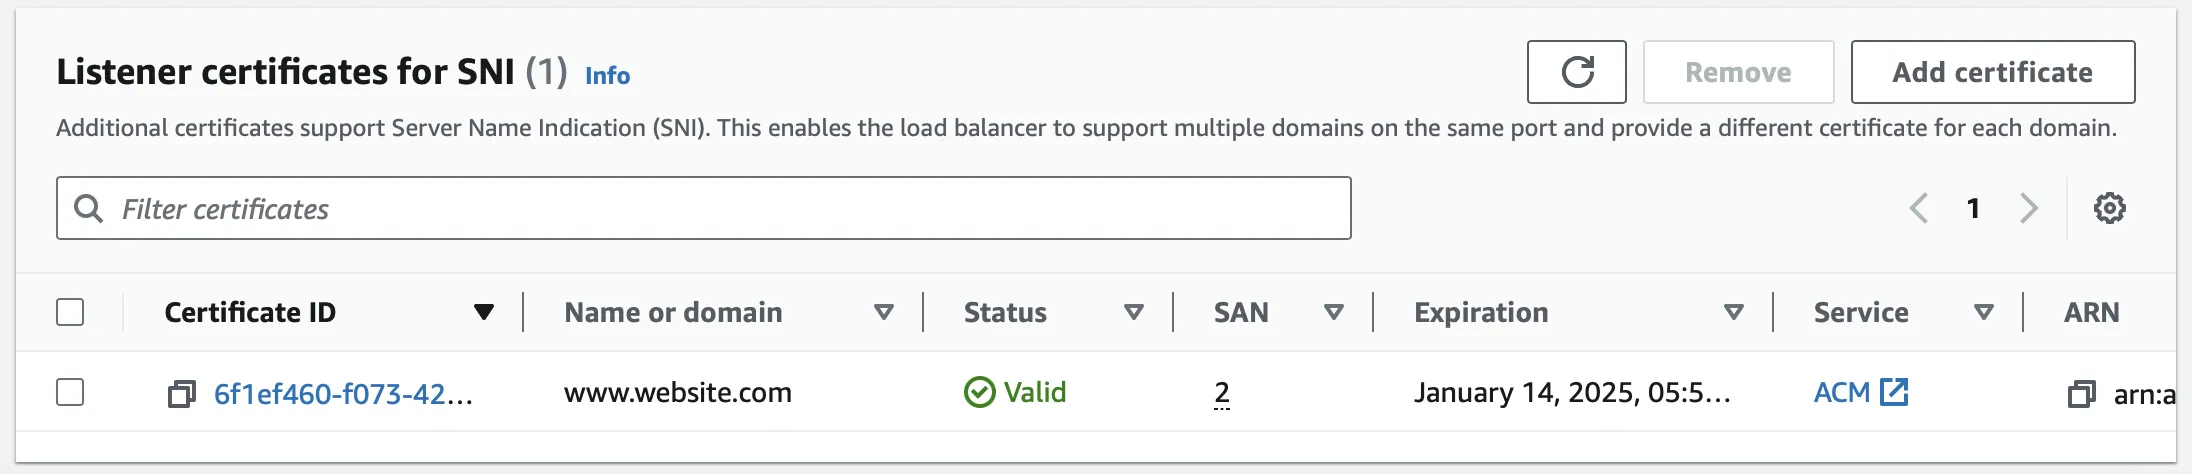
The certificate will now be available in the list of "Listener Certificates for SNI".
If you've followed along, you can now verify the SSL certificate and its expiry date from your preferred web browser by visiting your website.