Setting Up Headless Authentication with Salesforce
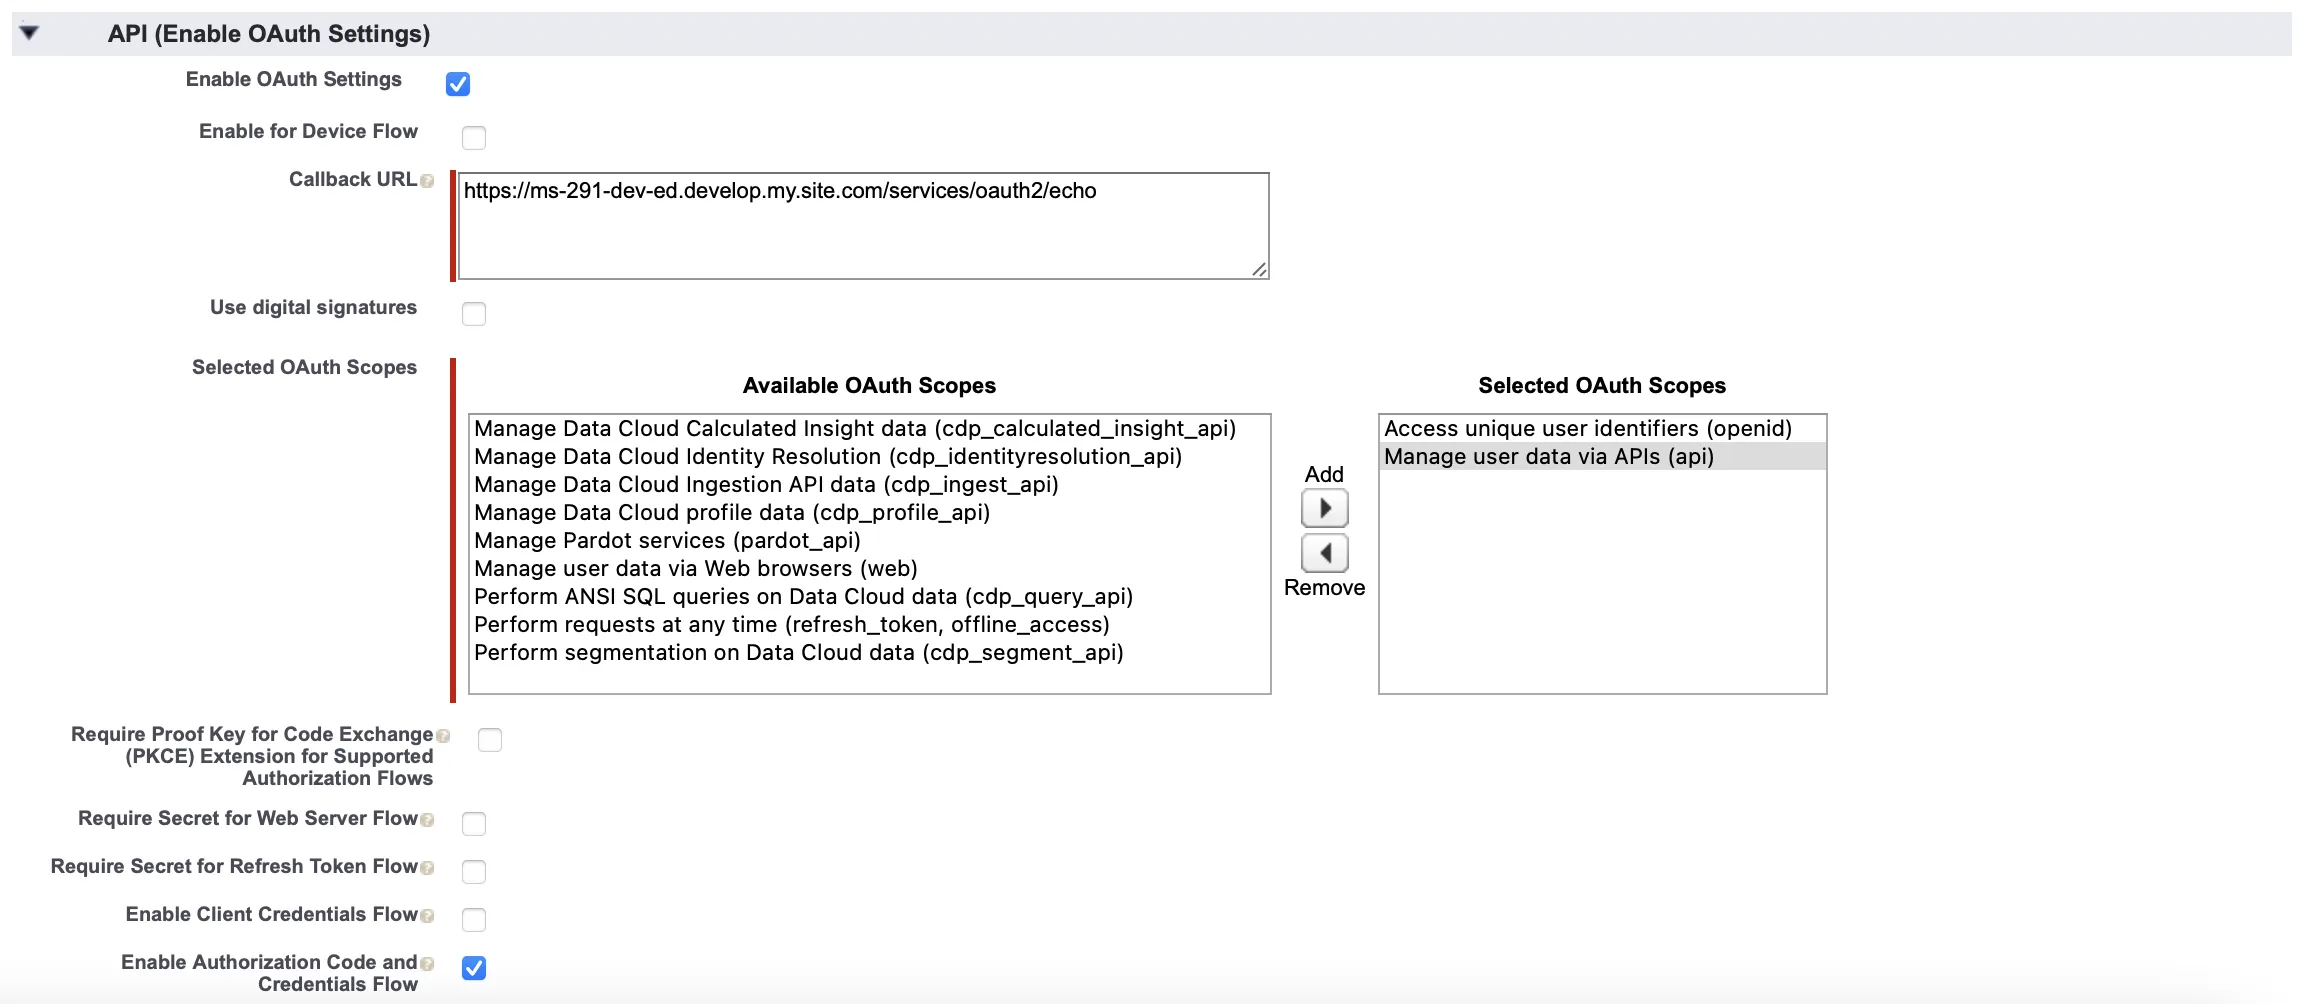
Enable Authorization Code and Credentials Flow

Create a Role to Manage Headless Identity Features


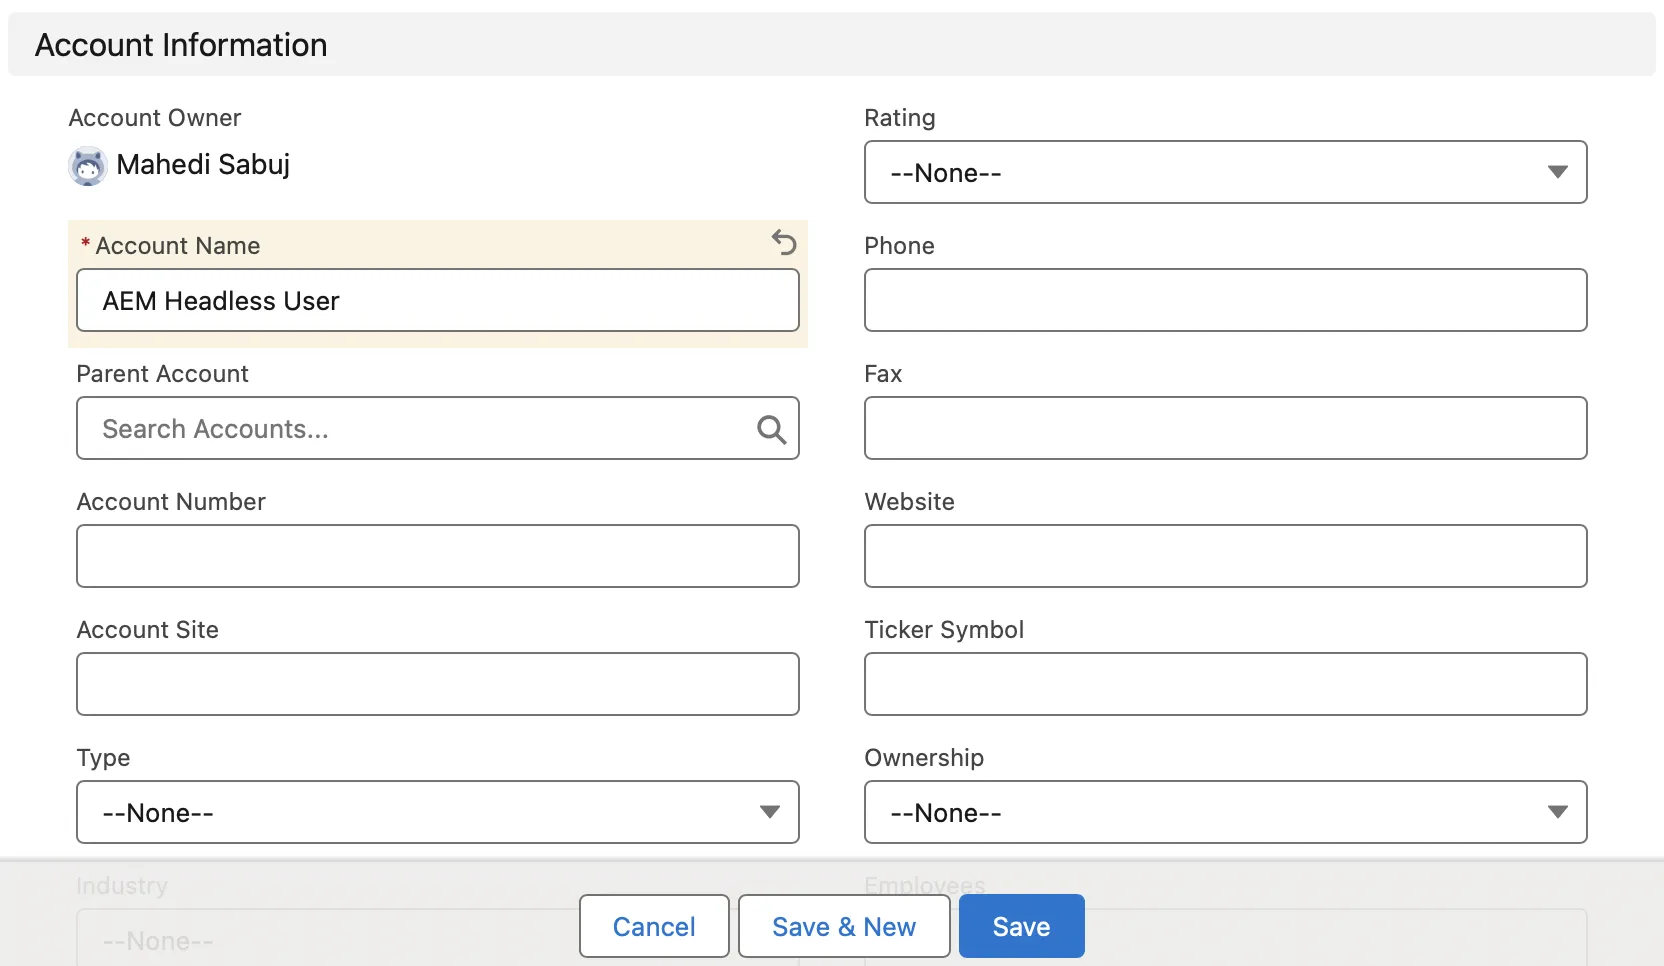
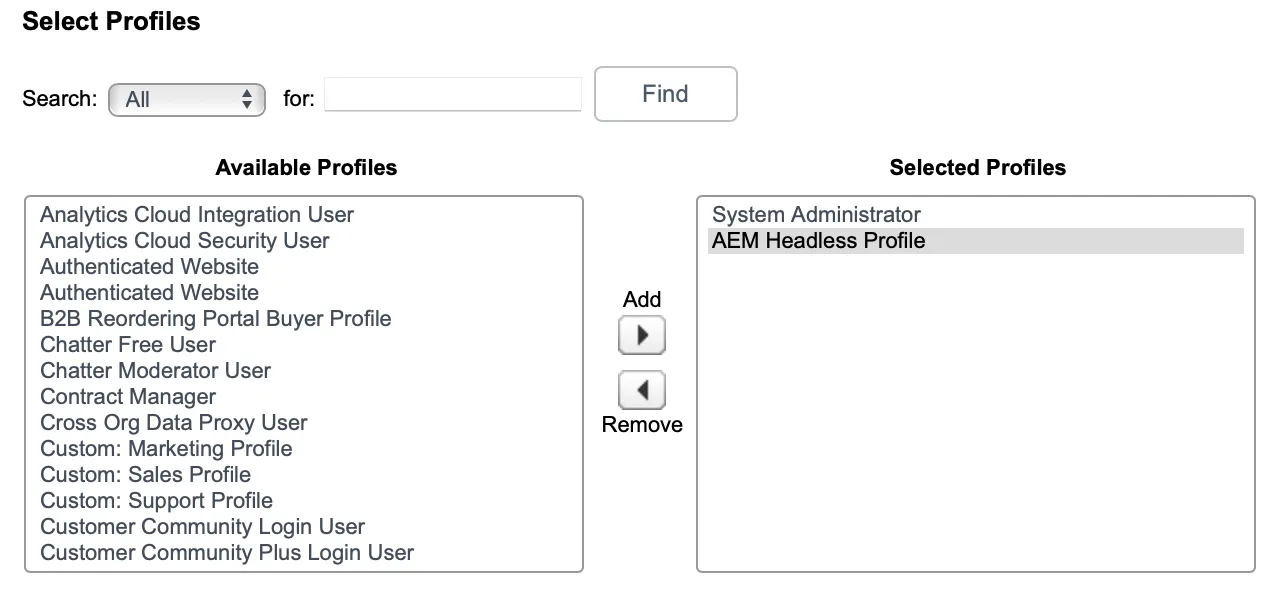
Set Up Profile for End Users

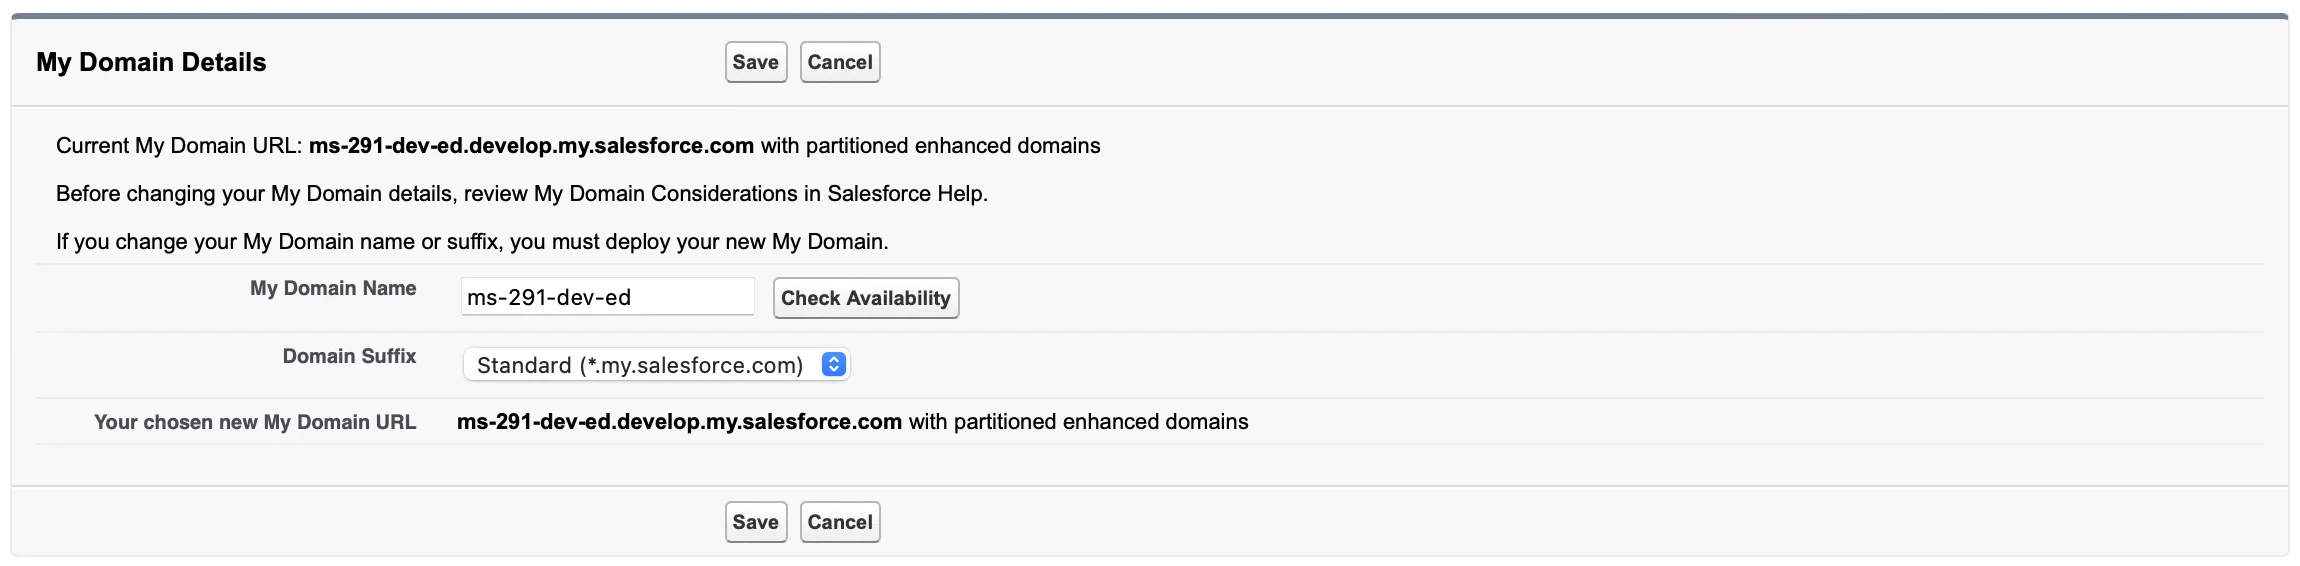
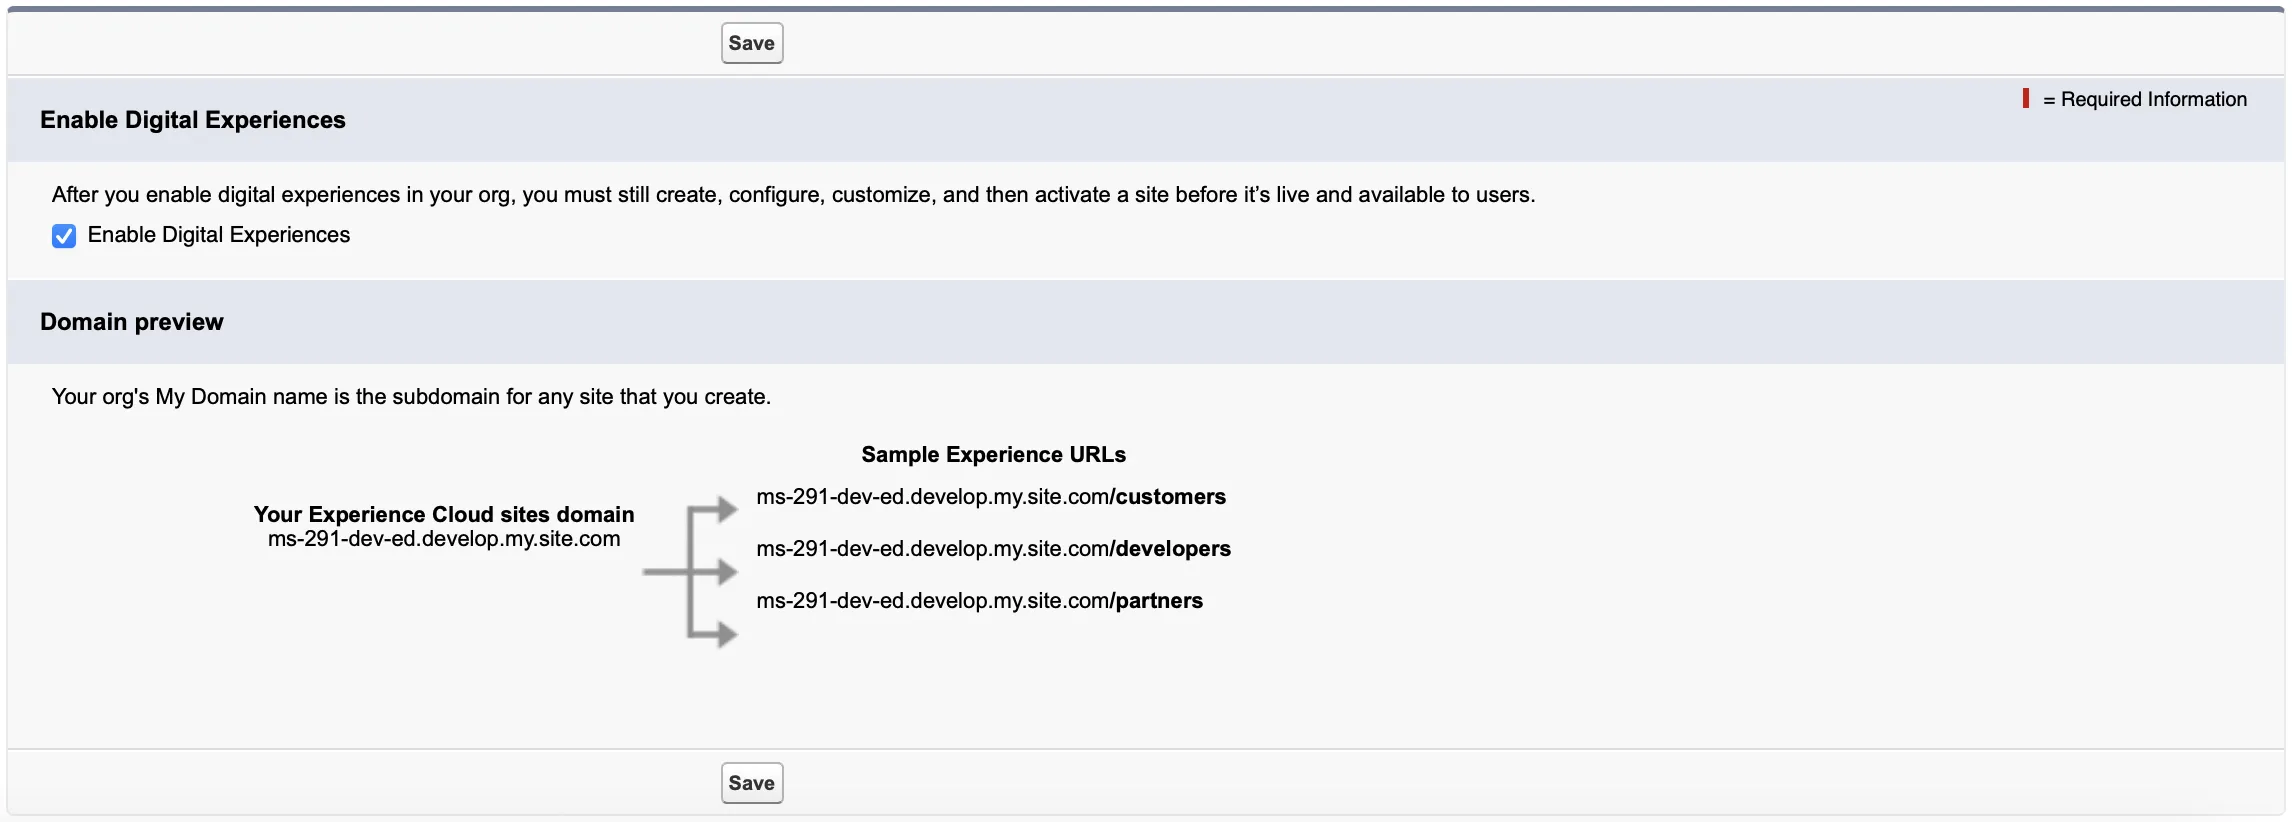
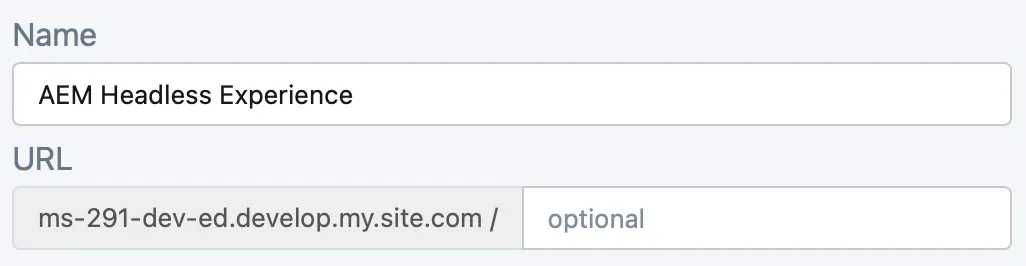
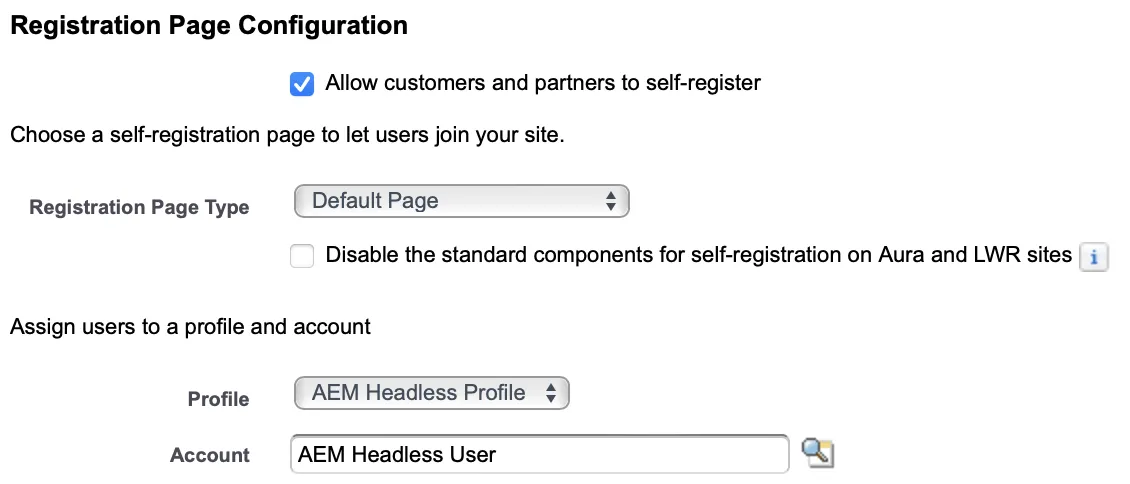
Set Up and Configure Experience Cloud Site
Set Up Connected App for Headless Identity


Create a User to Verify Headless Identity Setup
Headless Login Postman Request
- POST Authorization Request - /services/oauth2/authorize
- Authorization
- Basic Auth [Username & Password] will add Authorization header with the value Basic <username:password>, which contains the Base64-encoded username and password value.
- Headers
- Auth-Request-Type: Named-User
- Body
- response_type: code_credentials
client_id: [Connected App Consumer Key]
redirect_uri: [Connected App Callback URL]

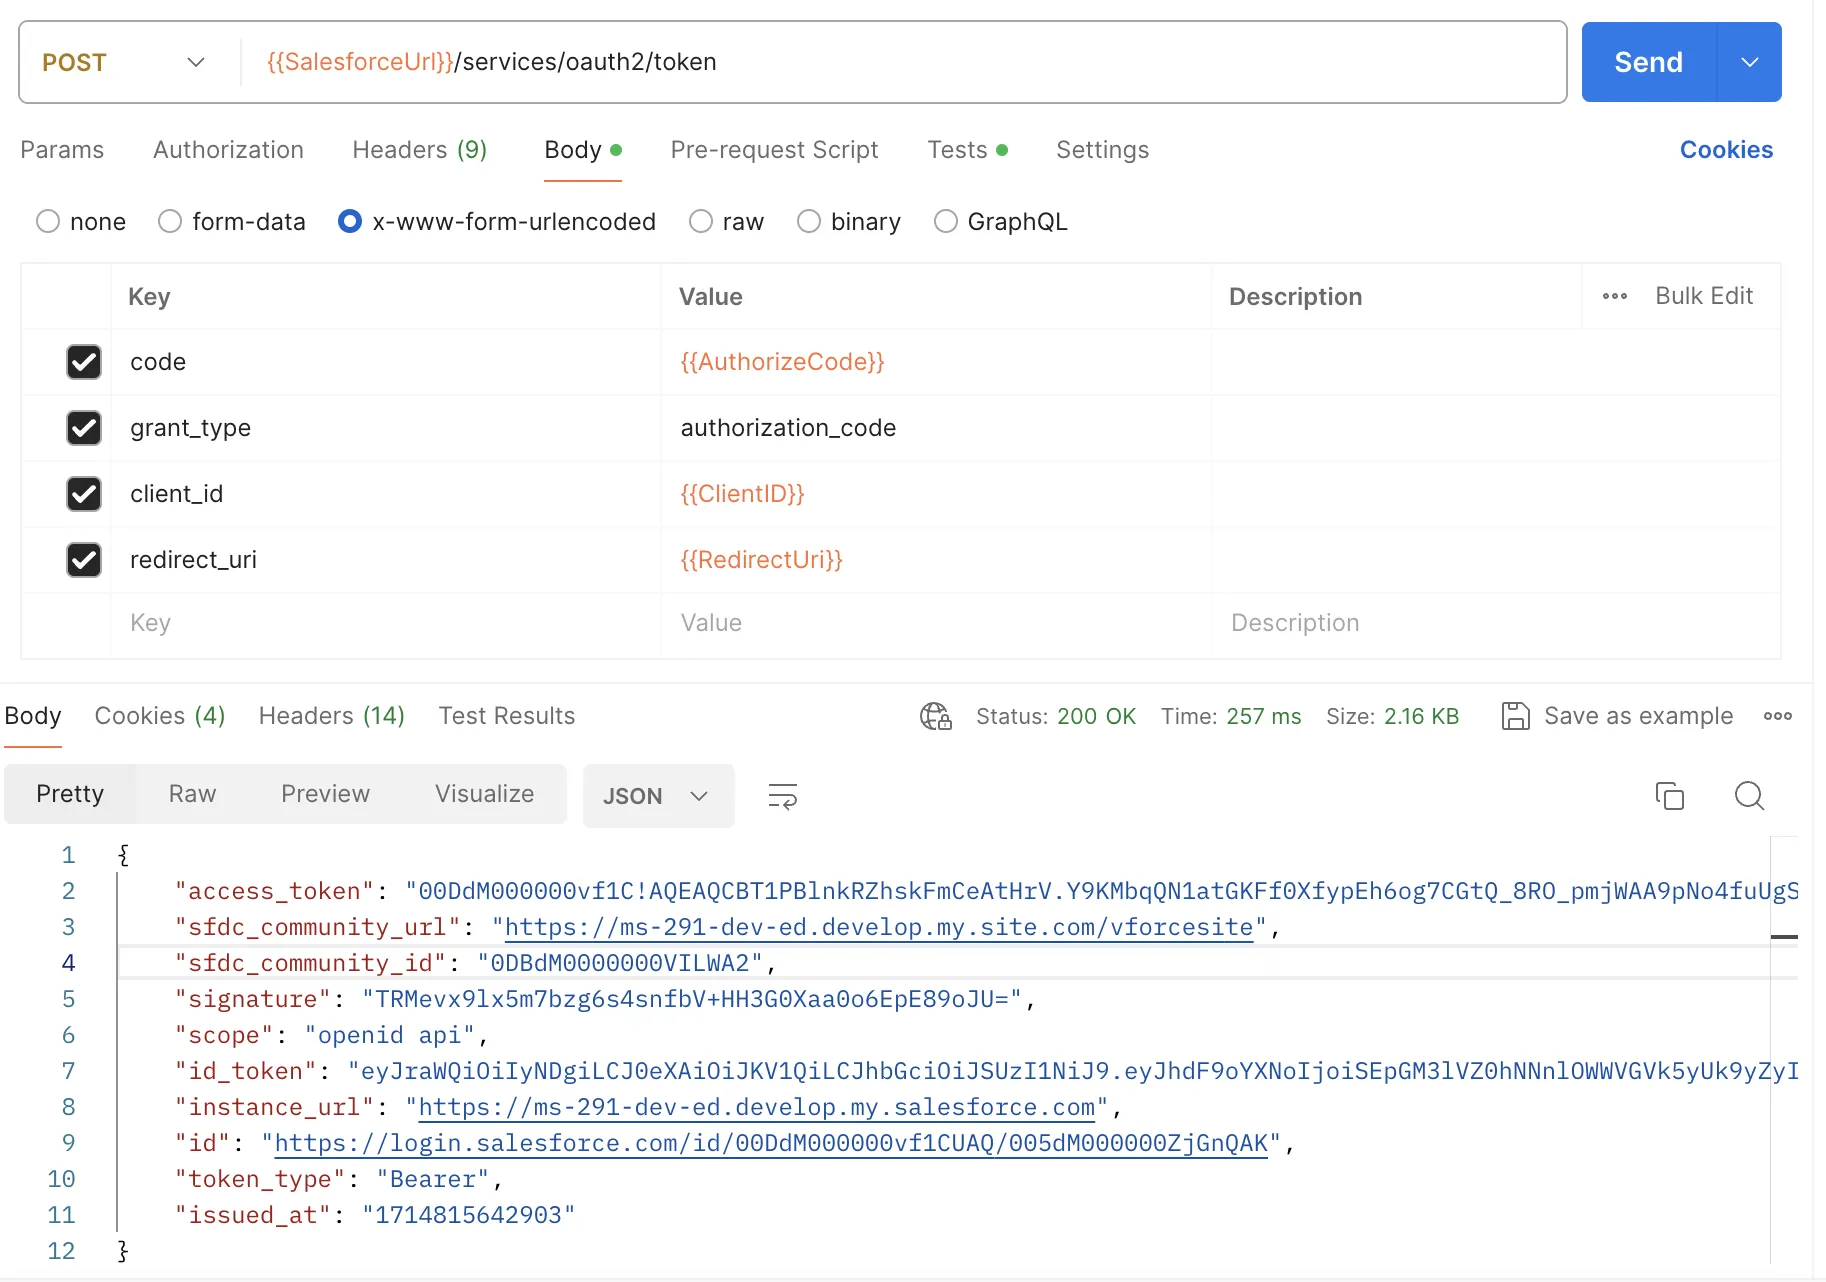
- POST Token Request - /services/oauth2/token
- Body
- code: Received in response during Authorization Request
grant_type: authorization_code
client_id: [Connected App Consumer Key]
redirect_uri: [Connected App Callback URL]
- POST User Info - /services/oauth2/userinfo
- Headers
- Authorization: Bearer [access_token], received in response during Token Request
Content-Type: application/json
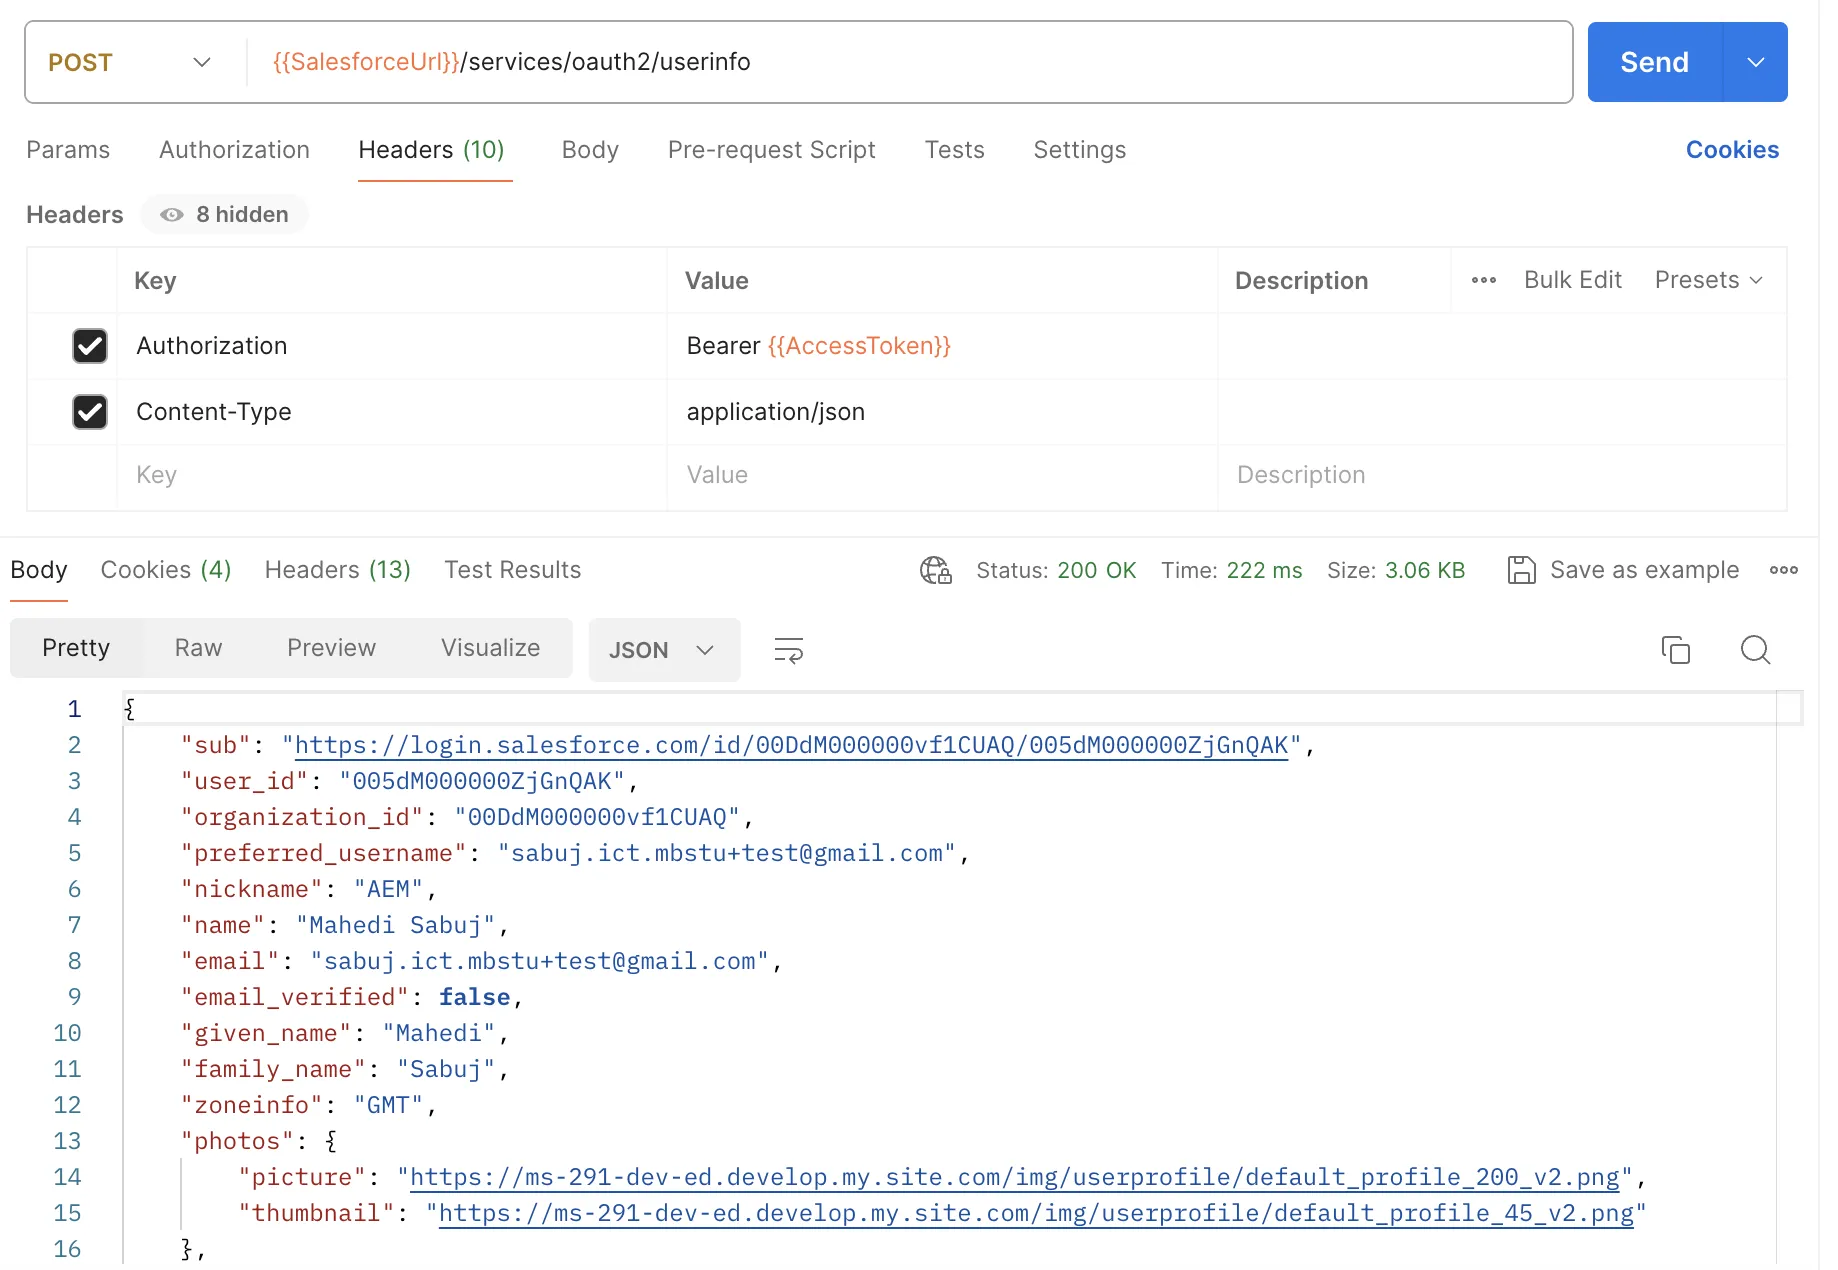 If the login was successful, you get a response containing information about the user.