Setup LWC Local Development Environment
Install Salesforce CLI
- Install from https://developer.salesforce.com/tools/salesforcecli.
- Verify the installation using following command:
sf version
Install Salesforce Extension Pack (Expanded)
- Launch Visual Studio Code and Click Extensions in the Sidebar.
- Search for Salesforce Extension Pack (Expanded) and Click Install.

sfdx to display an initial list of available commands.Activate Developer Hub
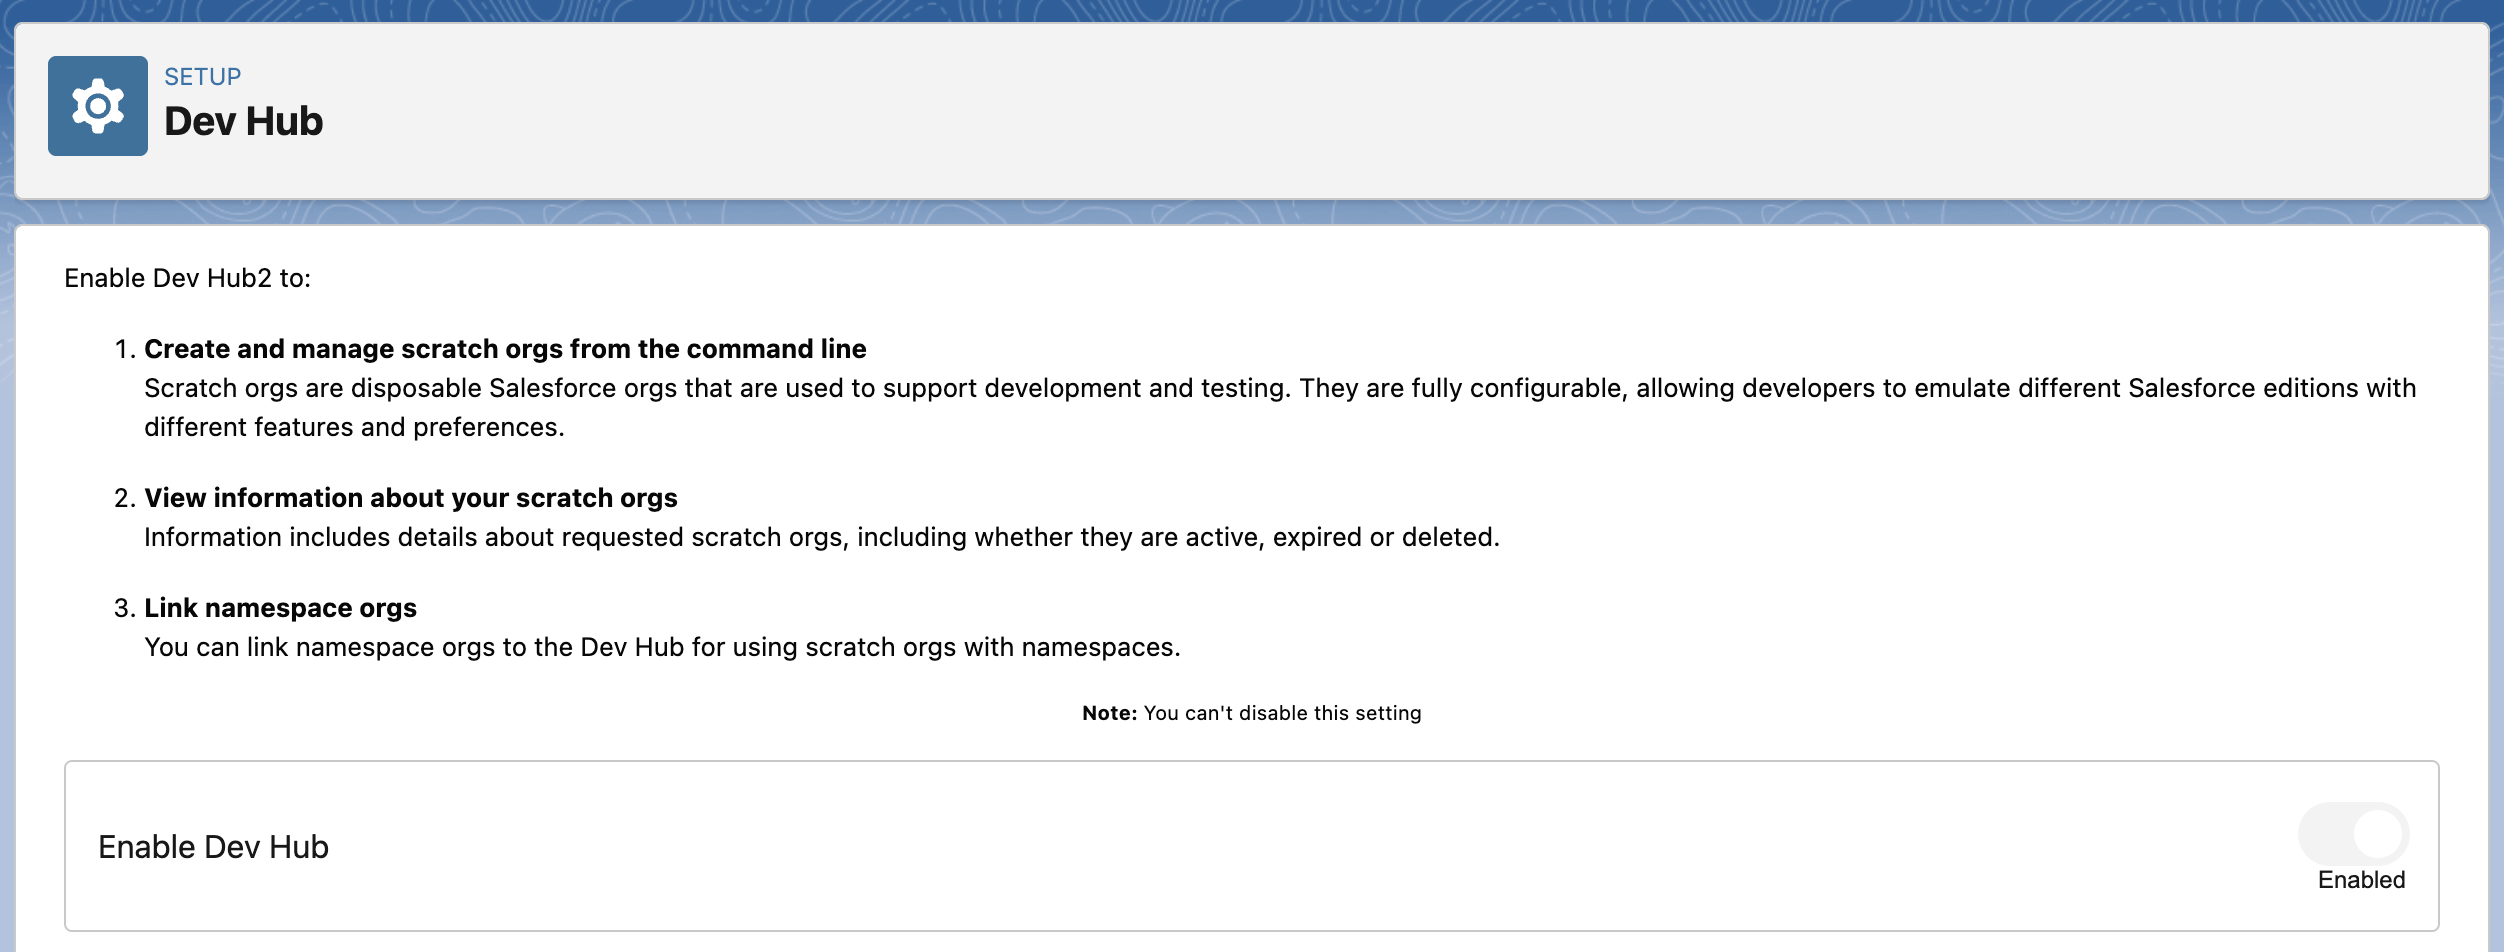
- From Setup, enter
Dev Hubin the Quick Find box and select Dev Hub. - Click the slider to enable Dev Hub.
Install Local Dev Plugin
sf plugins install @salesforce/plugin-lightning-dev@prereleaseIf you have production org with an upcoming release, you should install the latest version of Local Dev using
@latest.To enable Local Dev in your project, follow these steps.
- Open the
config/project-scratch-def.jsonfile. - In the
lightningExperienceSettingssection of the file, add the "enableLightningPreviewPref" key and set it totrue.
config / project-scratch-def.json
{
  "orgName": "MS-29",
  "edition": "Developer",
  "features": ["EnableSetPasswordInApi"],
  "settings": {
    "lightningExperienceSettings": {
      "enableS1DesktopEnabled": true,
      "enableLightningPreviewPref": true
    },
    "mobileSettings": {
      "enableS1EncryptedStoragePref2": false
    }
  }
}
Authorize Dev Hub
sdfx: authorize and select SDFX: Authorize a DEV Hub. Enter alias name e.g., devHubOrg and login using Dev Hub Org credentials.Create Scratch Org
sf org create scratch \
  --definition-file config/project-scratch-def.json \
  --alias scratchOrg \
  --target-dev-hub devHubOrg
This CLI command will create a scratch org using
config/project-scratch-def.json file and the alias scratchOrg.Deploy changes to Scratch Org
sf project deploy start --target-org scratchOrgOnce the changes are successfully deployed to the scratch org, the component can be added to the page.
sf org open --target-org scratchOrg- From the App Launcher, find and select Sales.
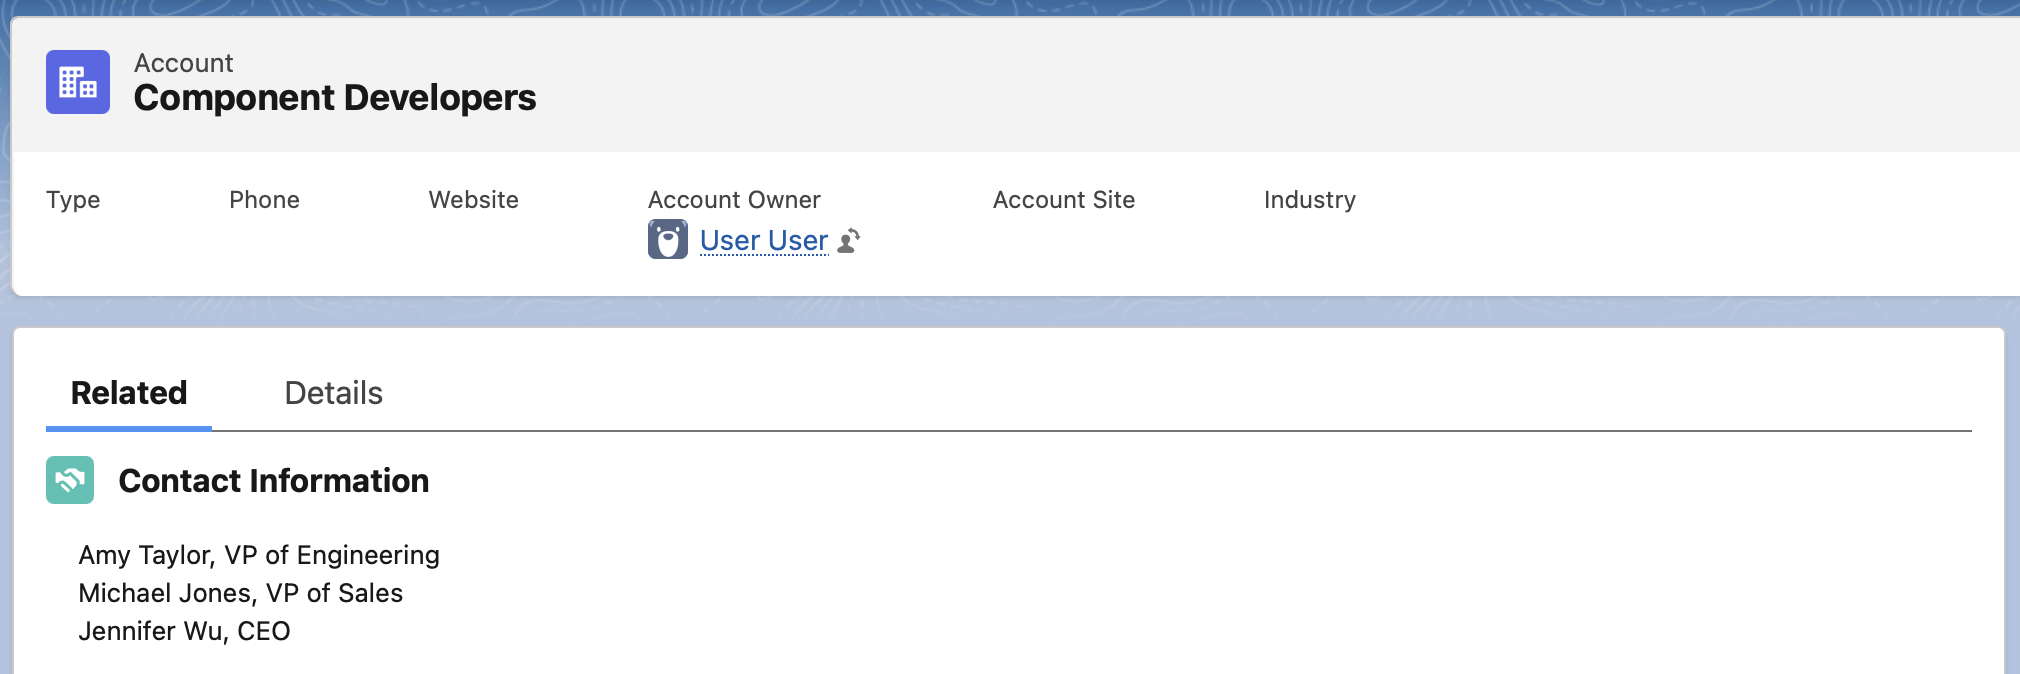
- Click the Accounts tab, then click New to create an account.
- Enter
Component Developersas Account Name, then click Save. - Click Setup, then select Edit Page to open Lightning App Builder.
- Drag the Component (under Custom) onto the page.
- Click Save, then click Activate.
- Click Assign as Org Default and then select Desktop and phone.
- Click Next, then Save.
Preview Component using Local Dev
Run the following command to open the Scratch Org in Local Dev mode.
sf lightning dev app \
  --target-org scratchOrg \
  --device-type desktop
Scratch org comes with a few default apps that you can use. When you're prompted to select a Lightning Experience app to preview, use the arrow keys to select Sales. If the command runs successfully, it opens a new tab in your browser with a preview of your org's Seller Home page.